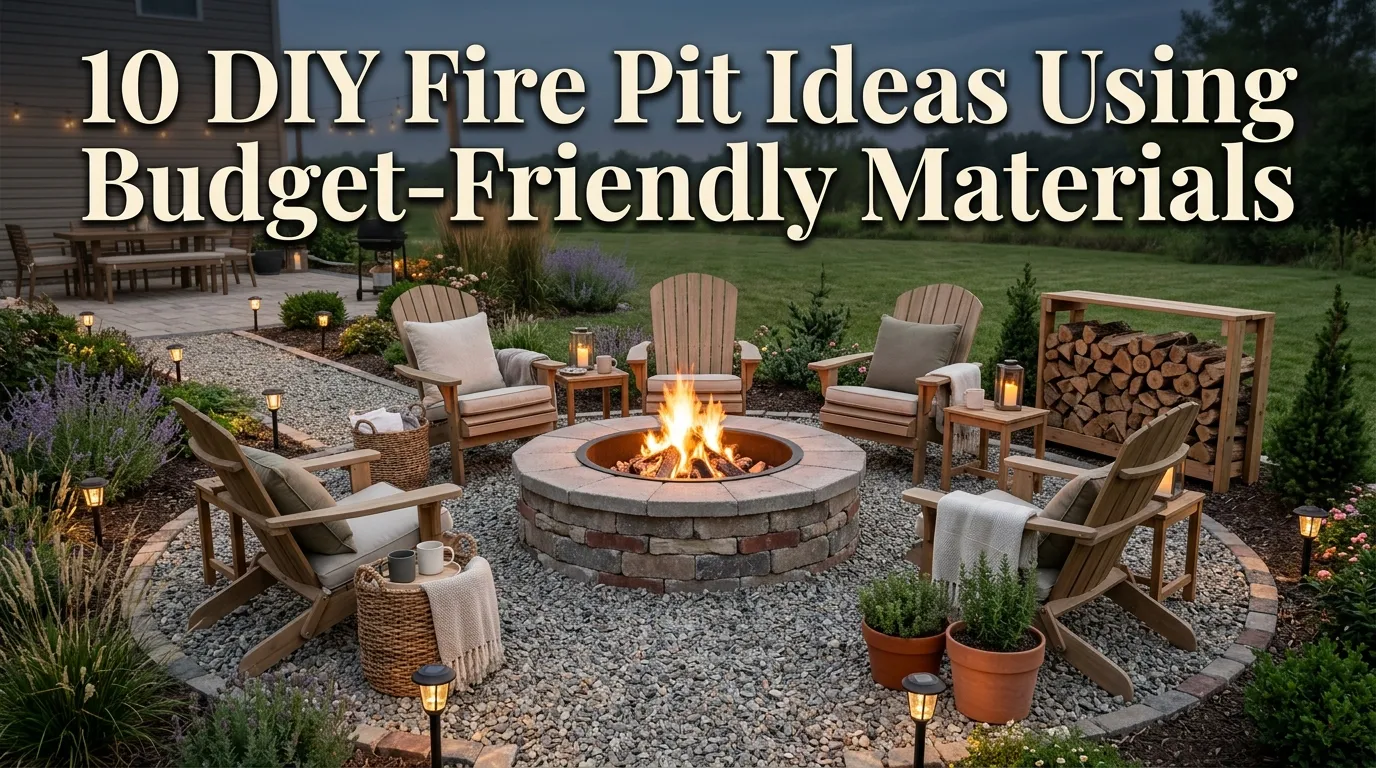
10 DIY Fire Pit Ideas Using Budget-Friendly Materials
There’s something about a backyard fire pit that changes the whole rhythm of an evening. In my experience, it’s one of the few outdoor upgrades that gets used almost every week once it exists, not just on special occasions. A mistake many homeowners make is assuming a fire pit means a costly professional install with a permit, a delivery truck, and a few thousand dollars — when in reality, some of the coziest, most-used fire pits I’ve seen were built over a single weekend with materials that cost less than a dinner out.
I’ve noticed that the DIY fire pits getting saved and shared the most right now aren’t the flashiest ones. They’re the simple, well-built projects using honest, affordable materials — pavers, cinder blocks, gravel, reclaimed brick — assembled thoughtfully rather than expensively. That’s the real appeal of a DIY fire pit: it doesn’t need to look store-bought to feel like a genuine backyard upgrade. It just needs to be built safely, sized right, and placed somewhere your family will actually gather.
One thing that works especially well is picking a design that matches your skill level and your yard’s existing style, rather than chasing the most elaborate option on Pinterest. That’s why many designers and DIYers recommend starting with a simple, forgiving material like pavers or cinder block before attempting anything with mortar or custom stonework — you get a real, functional result fast, and you can always upgrade later.
This guide walks through ten budget-friendly DIY fire pit ideas, from the simplest weekend builds to slightly more involved projects for those ready for a bigger challenge. Each idea includes practical building guidance, material notes, and styling tips so you know exactly what you’re working with before you start. If you’re anything like me, you want a project that’s realistic to actually finish, not just admire in photos. That’s exactly what you’ll find below.
Table of Contents
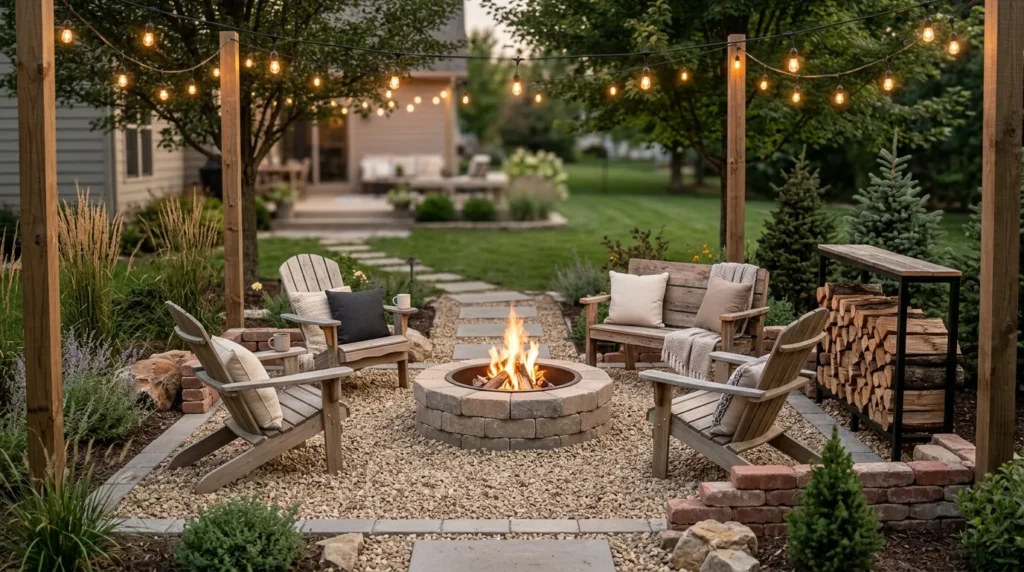
- Stacked Paver Ring — The simplest, most beginner-friendly fire pit build.
- Cinder Block Fire Pit — An ultra-affordable option using one basic material.
- Reclaimed Brick Circle — Character and warmth from salvaged materials.
- Gravel-Filled Metal Ring — A low-cost, low-labor weekend project.
- Dry-Stacked Stone Pit — Natural texture without mortar or cement.
- Sunken Fire Pit Design — A modern, in-ground approach using minimal materials.
- Concrete Paver Bench Pit — Built-in seating paired with the fire feature.
- Repurposed Steel Drum Pit — An industrial-style build from a single upcycled piece.
- Portable Tabletop Fire Bowl — A no-dig option for renters and small yards.
- Budget Gravel Patio Surround — Finishing the space around any fire pit affordably.
1. Stacked Paver Ring
Quick Benefits
- One of the easiest DIY fire pit builds for total beginners
- Requires no mortar, cement, or specialized tools
- Fully budget-friendly with widely available materials
- Can be disassembled or relocated if needed
- Completed in an afternoon by most first-timers
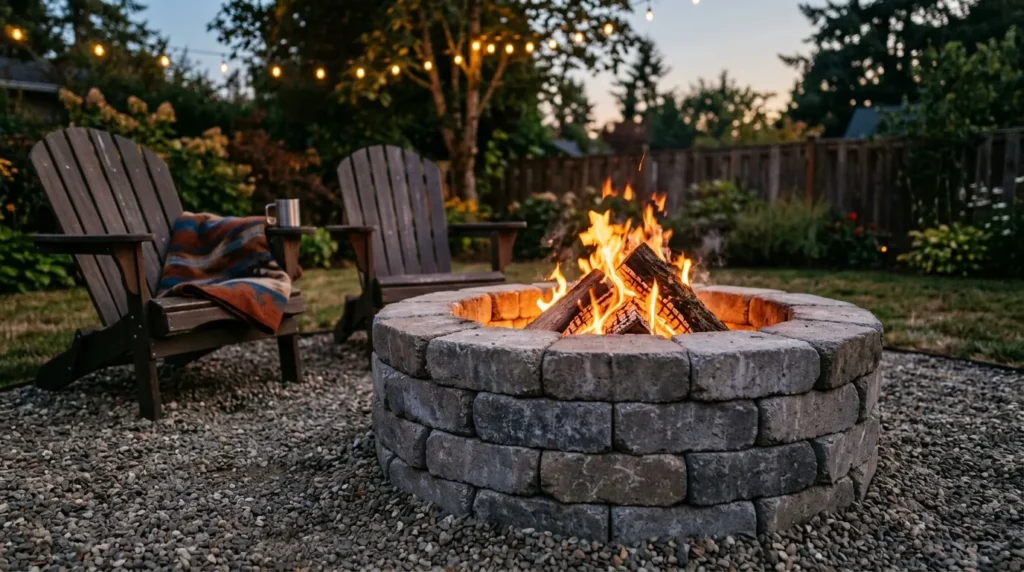
Why It Works In my experience, a stacked paver ring is the project I recommend most often to anyone building their first fire pit, because it removes nearly every barrier to entry. Retaining wall pavers or fire-rated concrete blocks are designed to interlock or stack securely without mortar, which means there’s no mixing, no curing time, and no risk of getting the technical steps wrong. A mistake many homeowners make is assuming a fire pit needs to be permanently mortared in place; a well-stacked ring of the right materials is just as stable and far more forgiving to build.
How To Style It Use fire-rated retaining wall blocks or concrete pavers, stacked in a circular or hexagonal shape roughly three to four feet in diameter, two to three courses high. Line the interior with a fire-resistant liner or a layer of lava rock and sand to protect the blocks from direct flame contact and extreme heat. Surround the base with a ring of gravel to manage sparks and drainage, and add simple Adirondack or folding chairs around the perimeter for an easy, casual gathering spot.
2. Cinder Block Fire Pit
Quick Benefits
- Among the least expensive fire pit materials available
- Widely available at any hardware or home improvement store
- Simple stacking method requires no special skill
- Can be painted or finished for a more polished look
- Sturdy and long-lasting with minimal upkeep
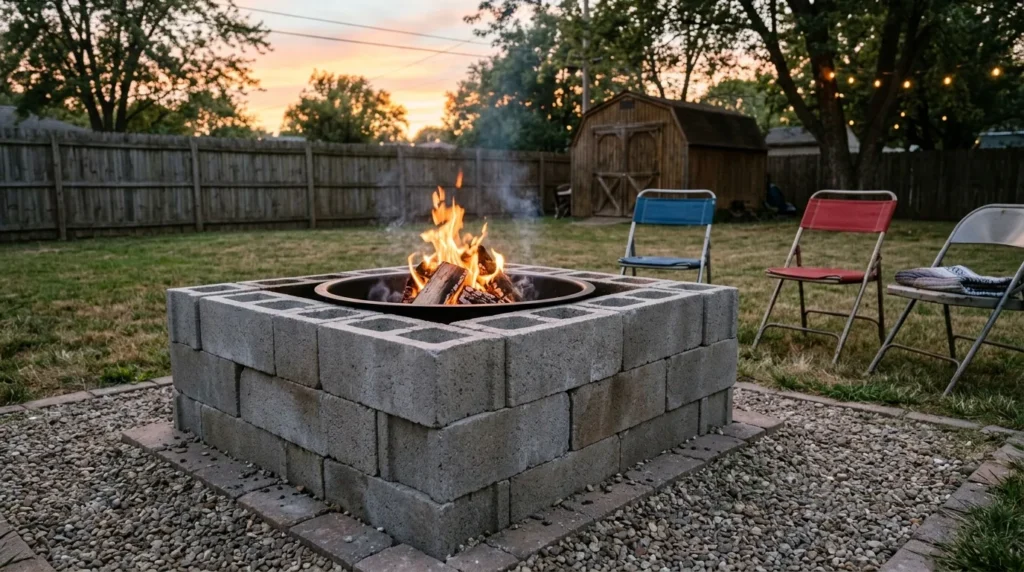
Why It Works Cinder blocks are one of the most budget-friendly building materials around, and their uniform size makes them almost foolproof to stack into a stable, even ring. I’ve seen this idea transform a completely empty corner of a backyard into a functional gathering space for well under a hundred dollars in materials. One simple trick I always suggest for cinder block builds specifically is offsetting each row slightly, the way a brick wall is laid, which adds real structural stability without any additional materials or cost.
How To Style It Stack standard cinder blocks in a circular pattern, offsetting each layer by roughly half a block width for stability, typically two to three rows high. Line the interior with fire brick or a metal fire ring insert to protect the cinder block from prolonged heat exposure, since standard cinder block can degrade faster under direct, repeated flame contact. For a more finished look, apply a heat-resistant masonry paint or stucco coating to the exterior once the structure is complete and fully cured.
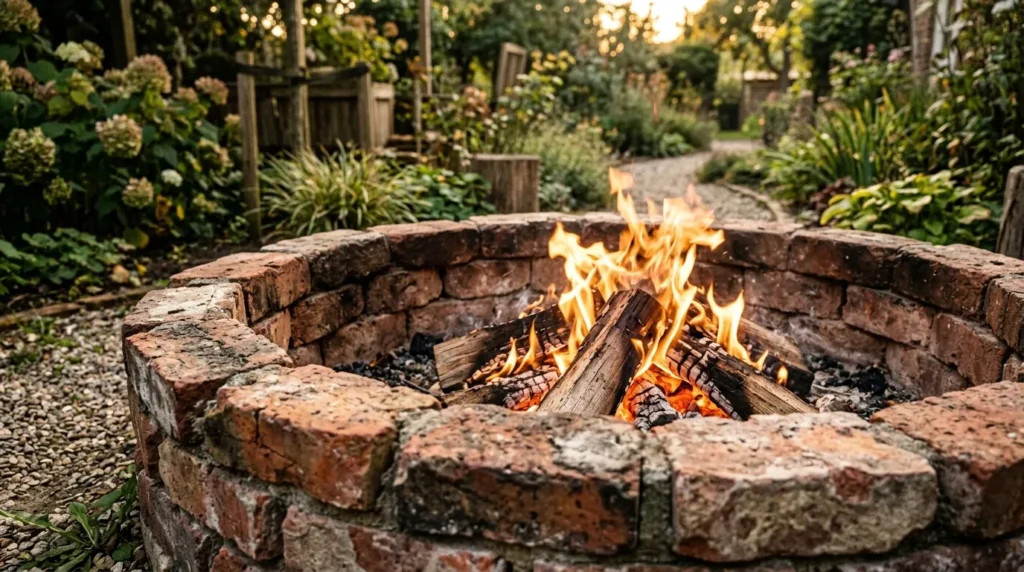
3. Reclaimed Brick Circle
Quick Benefits
- Adds warmth and character using salvaged, low-cost materials
- Often available free or cheap through local listings and demolition sites
- Naturally weathered look that suits both modern and rustic yards
- More budget-friendly than buying new brick or stone
- A sustainable, resourceful building option
Why It Works A mistake many homeowners make is assuming DIY fire pit materials need to be purchased new. Reclaimed brick — from a torn-down patio, an old chimney, or a local salvage yard — often costs a fraction of new material and brings a weathered, storied texture that new brick simply can’t replicate. In my experience, these are frequently the fire pits that get the most compliments, because the slightly irregular coloring and texture of reclaimed brick reads as intentional and characterful rather than store-bought.
How To Style It Source reclaimed brick from local salvage yards, demolition sites, or online marketplace listings, checking that bricks are solid and free of major cracking before use. Stack in a circular pattern, mortaring the joints for a permanent build or dry-stacking for a more flexible, adjustable version. Add a metal fire ring insert to protect the brick from direct flame and extend its lifespan. Surround with a small gravel or paver border to define the space and manage stray embers.
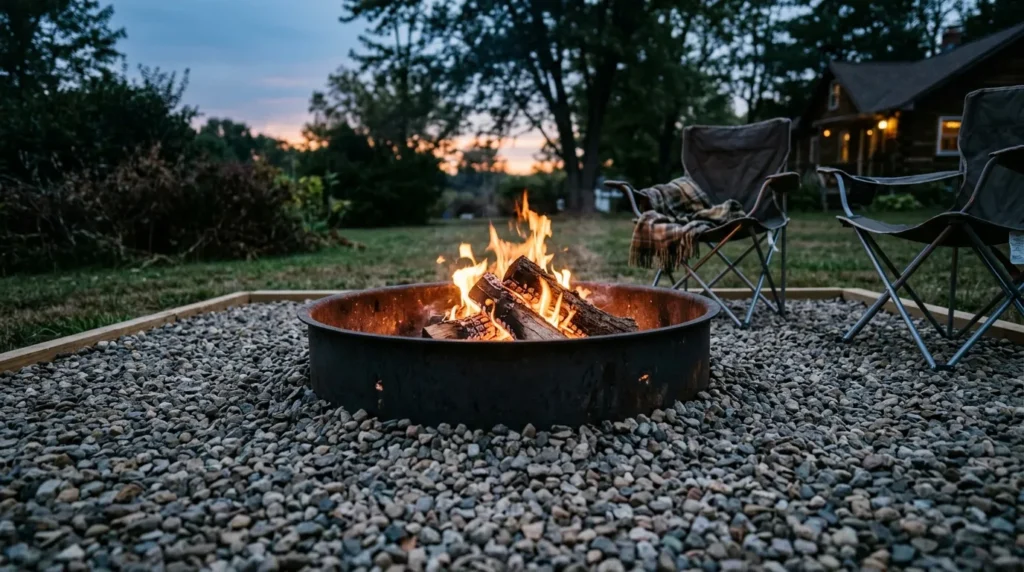
4. Gravel-Filled Metal Ring
Quick Benefits
- One of the fastest and lowest-labor fire pit projects on this list
- Minimal materials needed beyond the ring itself
- Naturally manages drainage and spark containment
- Easy to relocate or resize later
- A strong option for renters or temporary setups
Why It Works Sometimes the simplest solution really is the best one, and that’s the case with a gravel-filled metal ring. A steel fire ring insert placed directly into a shallow gravel bed requires almost no construction skill and can be completed in an hour or two. In my experience, this is the ideal project for anyone who wants a genuinely functional fire pit without committing to a permanent structure, since the whole setup can be picked up and moved if your landscaping plans change.
How To Style It Dig a shallow, level depression roughly six inches deep and slightly wider than your metal fire ring insert. Fill with landscaping gravel or crushed stone, tamping it down to create a stable, even base, then set the metal ring on top. Surround the ring with a wider gravel patch to manage sparks and provide a defined seating area. Add a few simple folding or camp chairs, which keep the whole setup flexible and easy to rearrange.
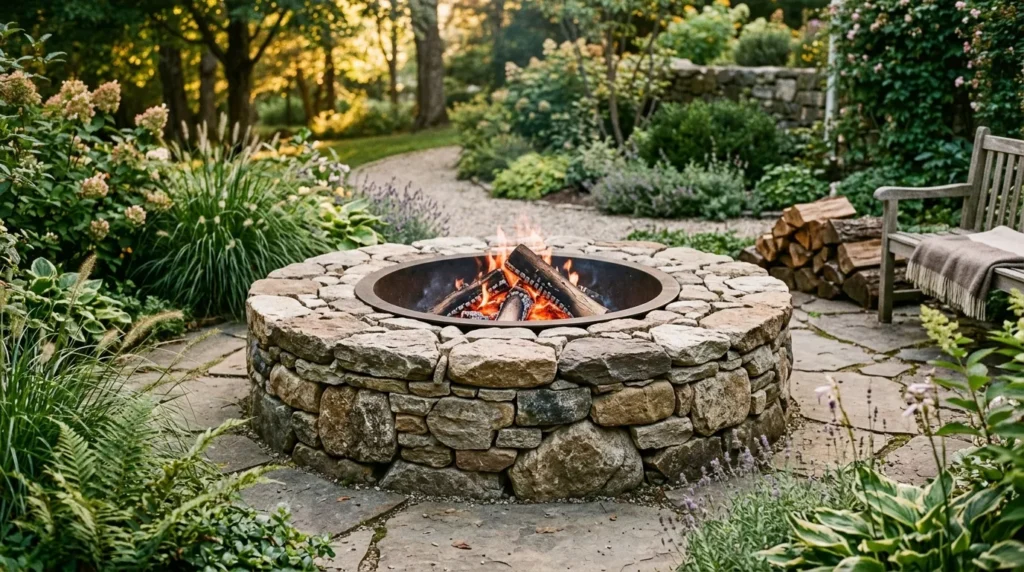
5. Dry-Stacked Stone Pit
Quick Benefits
- Delivers a natural, upscale look without mortar or cement
- Uses widely available, budget-friendly fieldstone or flagstone
- Flexible design that can be adjusted or expanded later
- Blends naturally into garden and landscaped settings
- A satisfying, hands-on weekend project
Why It Works Dry-stacking — building with stone fitted and stacked without mortar — is a technique that’s been used for centuries, and it works particularly well for a fire pit because the natural texture and irregular shapes of fieldstone create a genuinely upscale, organic look. That’s why many designers recommend this method specifically for yards with existing natural stone or garden landscaping, since it blends in far more seamlessly than a uniform block or paver ring. A mistake many homeowners make is assuming dry-stacked stone requires professional masonry experience; with patience and the right stone selection, it’s a very achievable DIY project.
How To Style It Choose flat, relatively uniform fieldstone or flagstone pieces, and dry-stack them in a circular pattern, selecting each stone based on how well it fits with the one below it. Stagger joints between layers the way you would with brick, for added stability. Line the interior with a metal fire ring insert to protect the stone from direct heat and prolong its lifespan. This method takes a bit more patience than block-based builds, but requires no mixing, curing, or specialized tools.
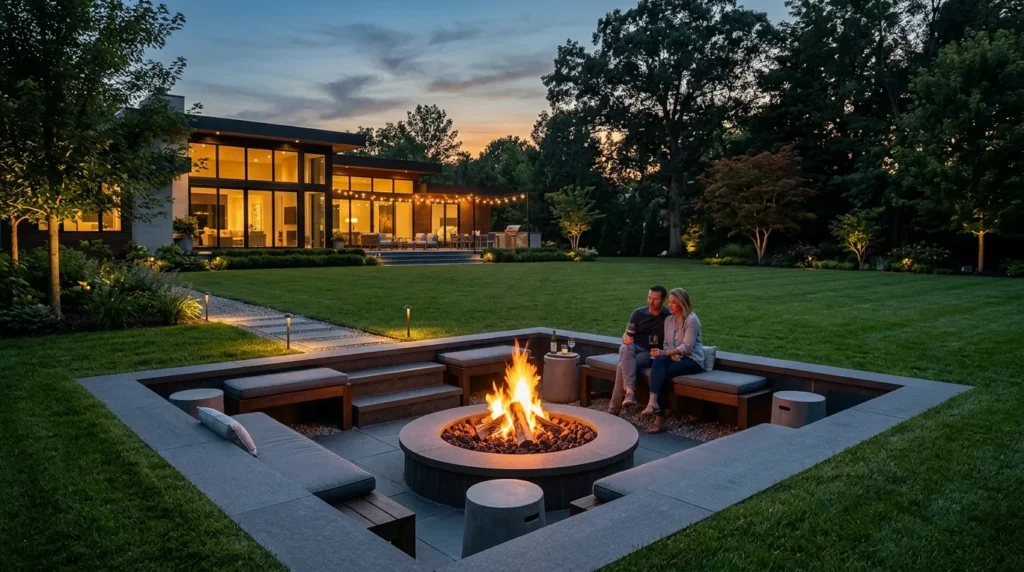
6. Sunken Fire Pit Design
Quick Benefits
- A modern, low-profile look that blends into the landscape
- Requires fewer above-ground materials than raised designs
- Naturally shields flames from wind at ground level
- Creates a distinctive, less common visual style
- Works especially well in flat, open backyards
Why It Works A sunken fire pit sits at or slightly below grade rather than being built up from the ground, which gives it a sleek, modern look that’s genuinely different from the typical raised ring. I’ve noticed this style trending upward on Pinterest specifically because it photographs beautifully against an open lawn and requires comparatively little material once the excavation is done. One simple trick I always suggest for windier yards is a sunken design specifically, since the surrounding ground level naturally blocks wind that would otherwise scatter an above-ground flame.
How To Style It Dig a circular pit roughly twelve to eighteen inches deep and three to four feet in diameter, lining the walls with fire-rated block, brick, or stone set below grade. Fill the base with several inches of gravel for drainage before adding a metal fire ring insert. Surround the rim at ground level with a low paver or stone border to define the edge clearly, both for safety and visual definition, and add built-in or freestanding low seating around the perimeter.
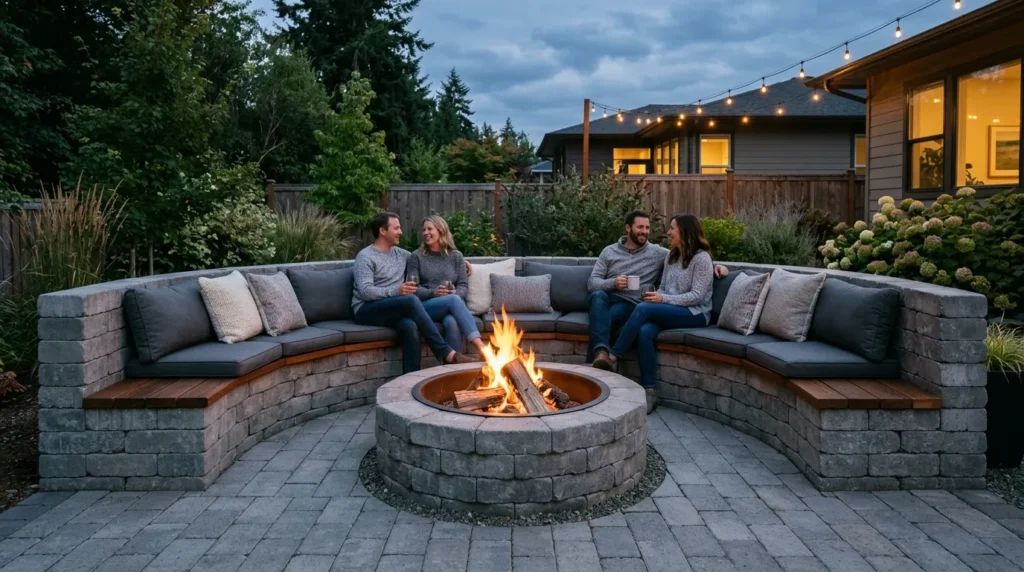
7. Concrete Paver Bench Pit
Quick Benefits
- Combines seating and fire feature into one cohesive build
- Maximizes usable seating without buying separate furniture
- Uses widely available, affordable concrete pavers
- Creates a defined, finished-looking gathering space
- A moderate step up in complexity with a big functional payoff
Why It Works A mistake many homeowners make is building a fire pit and then separately budgeting for outdoor seating, when the two can often be combined into a single, more affordable project. In my experience, a fire pit surrounded by low, built-in paver benches creates a far more finished, intentional-looking space than a ring of mismatched folding chairs, while still staying well within a DIY budget using standard concrete pavers.
How To Style It Build the central fire pit using stacked or mortared concrete pavers or blocks, following the same basic method as a standard paver ring. Then construct two or three low bench segments around the perimeter using the same paver material, capped with a flat paver or a simple wood plank for a comfortable sitting surface. Keeping the bench material consistent with the fire pit itself ties the whole build together visually, and adding outdoor cushions makes the benches genuinely comfortable for longer evenings.
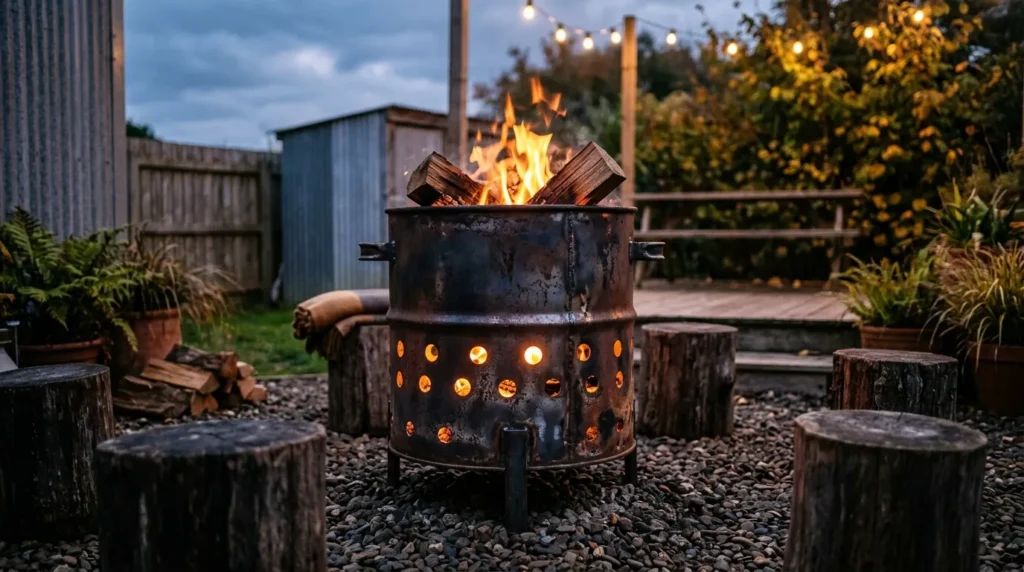
8. Repurposed Steel Drum Pit
Quick Benefits
- Transforms a single upcycled item into a full fire feature
- Extremely budget-friendly, often near-free with a used drum
- Distinct, industrial-modern aesthetic
- Compact footprint suited to smaller yards or patios
- A fast, low-material-count build
Why It Works A repurposed steel drum — cut down and modified — makes for one of the most distinctive, industrial-style fire pits on this list, and it’s often the cheapest option of all if you can source a used, food-grade drum secondhand. I’ve seen this idea transform a leftover piece of industrial equipment into a genuine backyard focal point, with a raw, modern aesthetic that pairs especially well with minimalist or industrial-style outdoor furniture. This project requires a bit more hands-on modification than a stacking-based build, but the material cost is minimal.
How To Style It Source a clean, food-grade steel drum (avoid anything that previously held chemicals or fuel), and have the top cut off and ventilation holes added by a metal shop or with the right cutting tools if you’re experienced. Fill the base with a few inches of sand or gravel for heat management. Set the finished drum on a paver or gravel base for safety and stability, and pair with simple metal or wood stools for an industrial-modern seating arrangement.
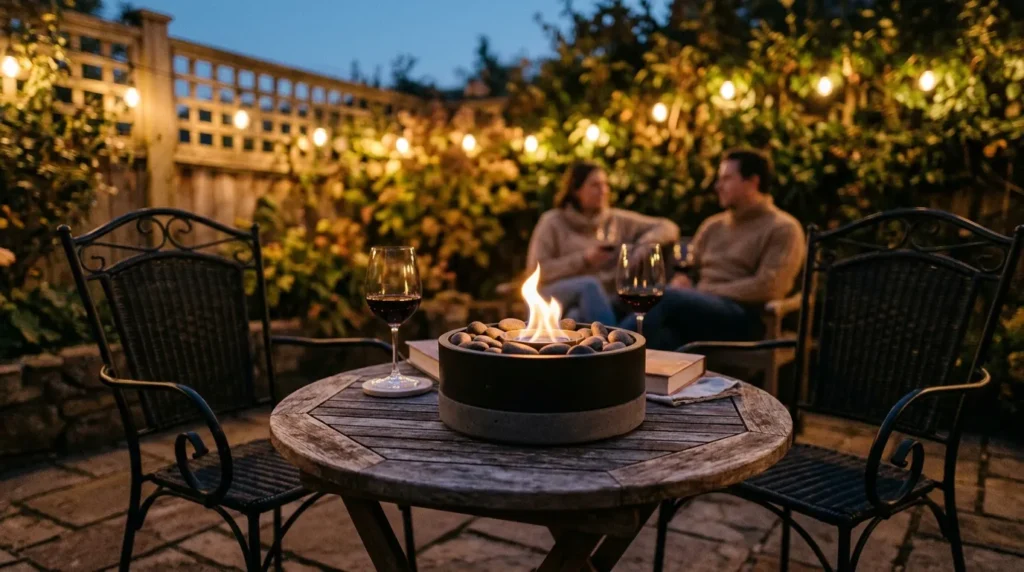
9. Portable Tabletop Fire Bowl
Quick Benefits
- No digging, mortar, or permanent structure required
- Ideal for renters, patios, and small outdoor spaces
- Can be moved indoors or into storage during off-seasons
- Budget-friendly with widely available tabletop options
- Adds ambiance without a full fire pit commitment
Why It Works Not every yard — or lease — allows for a permanent, in-ground fire feature, and that’s exactly where a tabletop fire bowl earns its place on this list. In my experience, this is the best option for renters, apartment patios, or anyone who wants fire pit ambiance without a structural project. A small tabletop bowl using gel fuel or a compact propane insert delivers real flame and warmth in a genuinely portable, no-installation format, which makes it one of the most accessible ideas on this entire list.
How To Style It Choose a fire-rated tabletop bowl or build a simple version using a shallow metal or concrete planter filled with lava rock and a gel fuel canister insert. Place it on a heat-safe surface — a metal tray, stone slab, or concrete paver — away from anything flammable. Pair with a small bistro table and two chairs for an intimate patio setup, and store the fuel canister safely when not in use, especially in shared or rented spaces.
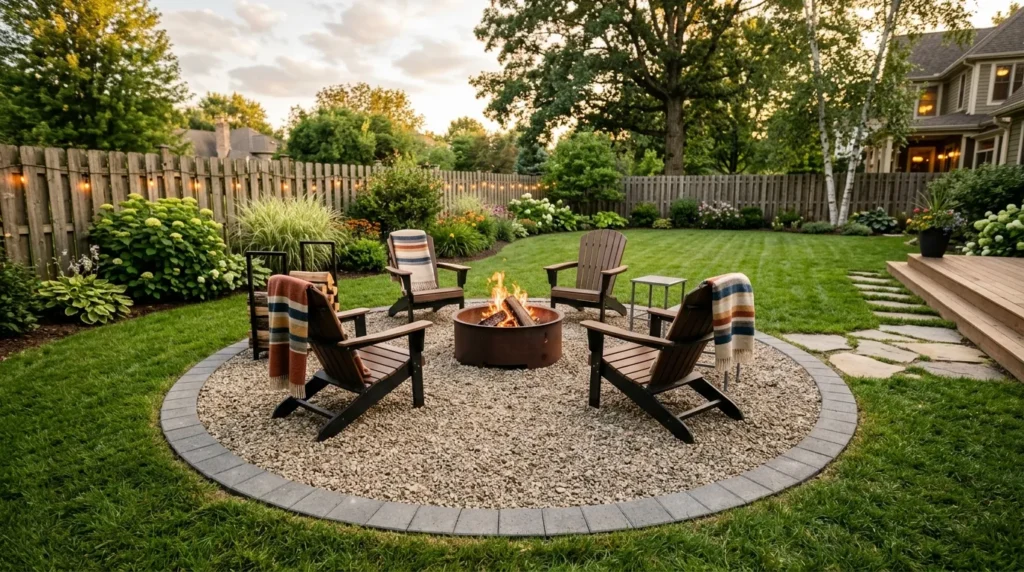
10. Budget Gravel Patio Surround
Quick Benefits
- Finishes and defines the space around any fire pit affordably
- One of the cheapest ground-cover options available
- Improves drainage and reduces mud around the fire area
- Works with nearly any fire pit style on this list
- A simple weekend finishing project
Why It Works That’s why many designers recommend pairing any DIY fire pit with a proper ground surround rather than leaving it sitting directly on grass, which tends to wear down, get muddy, and create an unfinished look over time. A gravel surround is one of the most budget-friendly ways to solve this, while also genuinely improving drainage and spark management around the fire area. In my experience, this final step is what elevates a fire pit from “a thing in the yard” to a fully realized outdoor space.
How To Style It Mark out a circular or hexagonal area extending a few feet beyond the fire pit itself, remove the grass or existing ground cover, and lay a weed barrier fabric underneath. Fill with a few inches of crushed gravel or decomposed granite, raking it level and tamping it down for stability. Edge the surround with a simple paver or steel border to keep gravel contained and prevent it from migrating into the surrounding lawn over time.
Frequently Asked Questions
What’s the cheapest material for a DIY fire pit? Cinder blocks and reclaimed or salvaged brick are typically the most budget-friendly options, often costing well under a hundred dollars in total materials. Gravel-filled metal ring setups are similarly inexpensive and require very little labor.
Do I need a permit to build a fire pit in my backyard? Requirements vary significantly by city and county, so it’s worth checking local regulations before building, especially for permanent, mortared, or in-ground designs. Portable options like a tabletop fire bowl typically face fewer restrictions.
How far should a fire pit be from my house? General safety guidance suggests keeping a fire pit at least ten feet from any structure, fence, or overhanging tree branches, though local fire codes may specify different distances. Always check your specific municipality’s requirements before finalizing placement.
Can I build a fire pit without mortar? Yes — dry-stacking with fire-rated blocks, pavers, or fieldstone is a common, beginner-friendly method that requires no mortar or cement. It’s also easier to disassemble or adjust later compared to a permanently mortared structure.
What should I use to line the inside of a DIY fire pit? A metal fire ring insert or fire brick is generally recommended to protect the outer building material from direct, repeated flame exposure. This extends the lifespan of materials like cinder block, brick, or stone significantly.
Is a sunken fire pit harder to build than a raised one? It requires more excavation work upfront, but the actual building technique is comparable to a raised design once the hole is dug. The main added step is ensuring proper drainage at the base before lining the walls.
How long does a typical DIY fire pit project take to complete? Simple stacked or gravel-based designs can often be finished in a single afternoon, while more involved builds like a bench-and-pit combination or a sunken design may take a full weekend. Material curing time, if mortar is used, can add a few additional days before first use.
Final Thoughts
A great backyard fire pit doesn’t require a big budget or professional installation — it requires the right materials for your skill level, a safe, well-planned setup, and a spot your family will actually want to gather around. Whether you start with a simple stacked paver ring or work up to a bench-and-pit combination, each of these ten ideas is achievable in a weekend or two using affordable, widely available materials.
Start with one or two ideas and gradually build a space that reflects your style and supports everyday outdoor time. The goal isn’t a magazine-perfect fire feature — it’s a spot that gets used, week after week, for years to come.
Related Articles
- 10 Backyard Landscape Design Ideas for Modern Families
- Small Patio Ideas for Outdoor Entertaining
- DIY Accent Wall Ideas Anyone Can Do
- Modern Farmhouse Decor Ideas for Every Room
- 10 Modern Living Room Ideas with Natural Wood Finishes